In the business of life, we sometimes forget to make time for the things we love.
For me, that’s cooking and baking.
I’ve been so busy this year that I haven’t had much time for myself. This week, I decided to minimise my social media use and only use it for communication so that I could recalibrate. I wanted to get back to spending time with my thoughts, without having music or a podcast playing in the background.
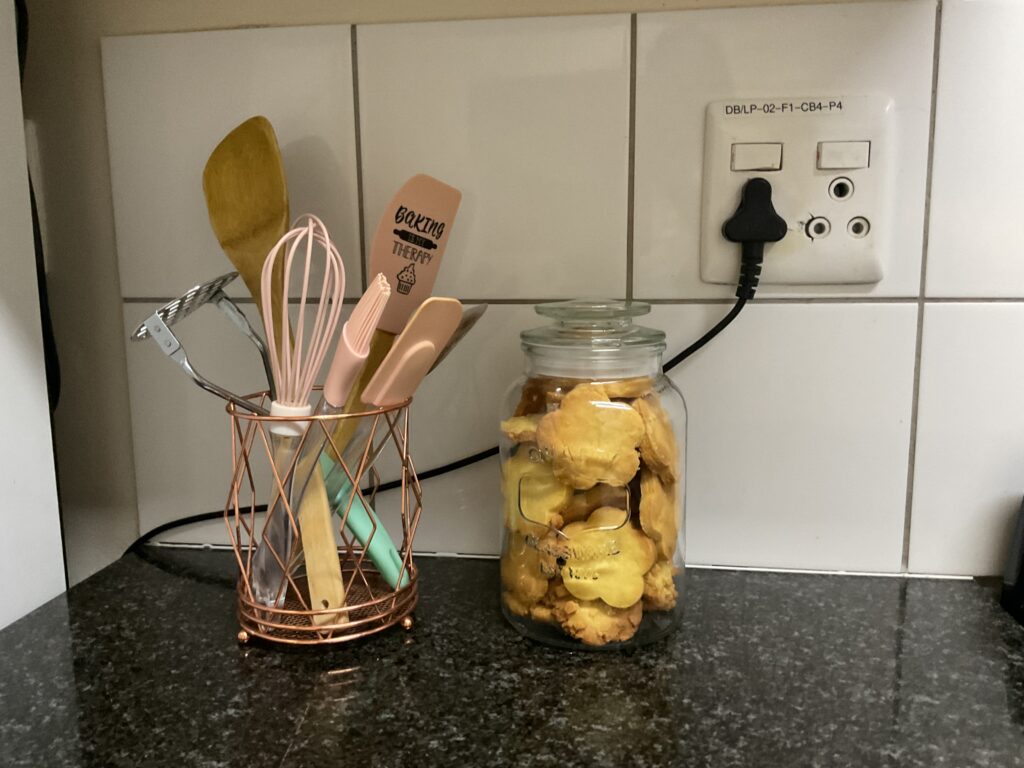
I started by deep-cleaning my room, changing things around a little, and creating a fresh space for myself. Then, after a hot shower, I finally felt like doing something I love: filling my biscuit jar.
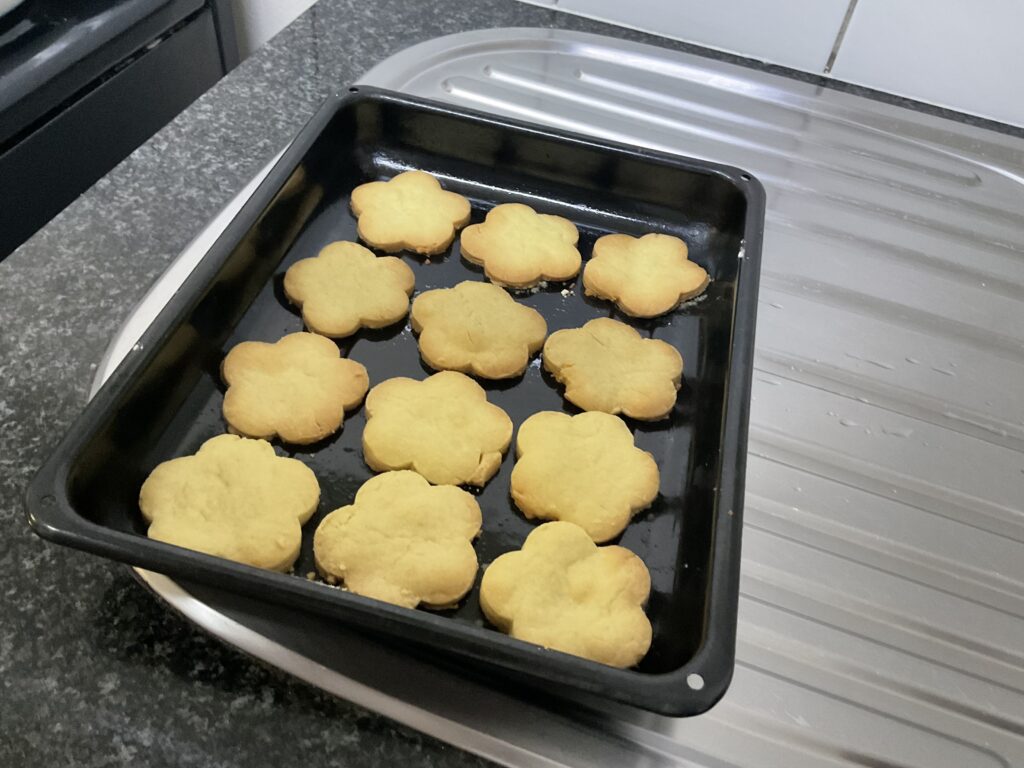
I have a jar on my kitchen counter in res, and I try my best to make sure it’s never empty. Sometimes, I fill it with rusks, other times with granola, but my absolute favourite has to be melting moments biscuits shaped like flowers.
I love melting moments! They’re so easy to make and require only three ingredients. Even if you don’t know how to bake, you can hardly go wrong with these, lol.
Whatever it is that you love doing for yourself, I hope you find your way back to it, even in the busyness of life. For me, baking has always been one of those things that makes me feel alive. There have been times when I’d find myself baking in the early hours of the morning, simply because I felt like it.
So, here we go!
Let’s Bake! 🍪
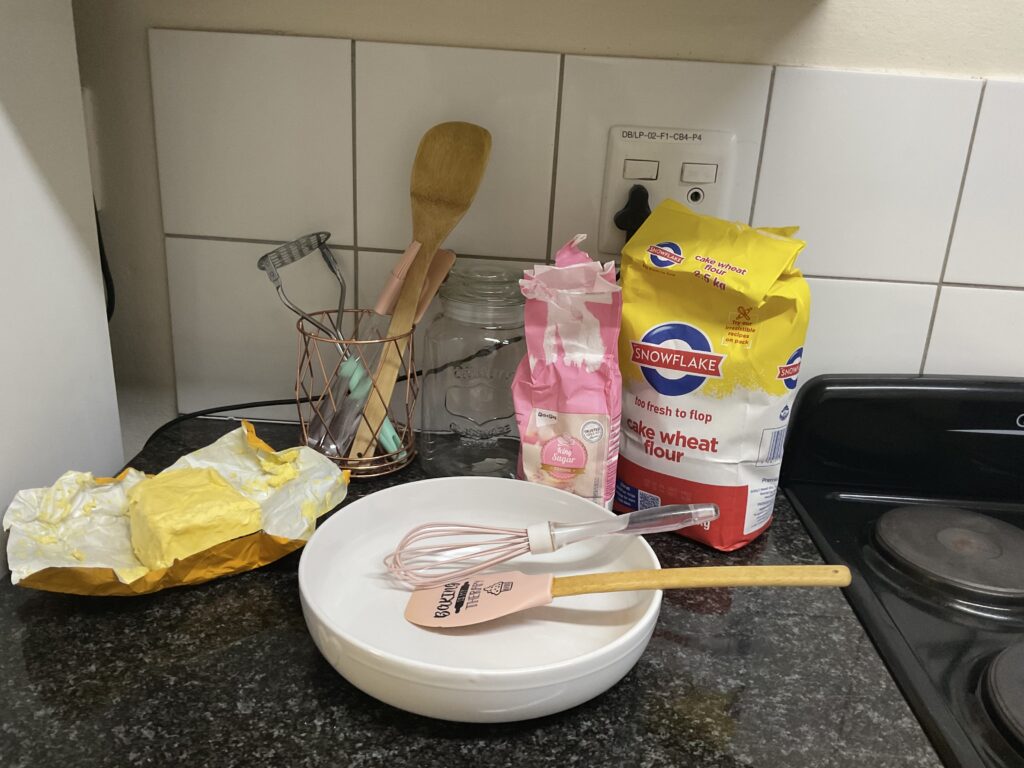
Ingredients
- 250 g baking margarine (that’s half of the 500 g block you buy from the store)
- 125 ml (½ cup) icing sugar
- 250 ml (1 cup) cake flour or all-purpose flour
Please note: Icing sugar is important for achieving the right texture and taste, so I wouldn’t recommend substituting it with regular sugar.
Instructions
- Preheat your oven to 180°C.
- Prepare your baking tray by lightly greasing it.
- Cream the margarine. Make sure it’s soft and creamy before you begin.
- Add the icing sugar and mix well until everything is combined.
- Add the flour and mix until you have a soft dough. It should be slightly crumbly but still hold together when pressed.
- Roll out the dough on a lightly floured surface.
- Cut out your shapes using a glass or a cookie cutter in the shape of your choice. If you have a flower-shaped cutter, even better!
- Arrange the biscuits on your prepared baking tray, leaving a little space between them.
- Bake for about 10 minutes or until the biscuits are set. Keep an eye on them, as you don’t want them to brown too much.
- Allow them to cool completely before storing them in your favourite biscuit jar.
A Few Tips
- You can add chocolate chips if you’d like to experiment a little.
- Place your baking tray on the centre rack of the oven to help the biscuits bake evenly.
- Handle the dough gently, and if it becomes too soft to work with, chill it briefly before cutting out your shapes.
- Let the biscuits cool completely before putting them in your jar to keep them fresh and crisp.
And that’s it! Simple, easy, and delicious.
All the best, and remember to enjoy the process and the final product, lol!
If you give this recipe a try, please share your results in the comments.